Applies to: All Reolink cameras that support ONVIF.
Note: ONVIF Device Manager is a Network Video Client (NVC) to manage Network Video Transmitters (NVT), Network Video Storage (NVS) and Network Video Analytics (NVA) devices. Thus you need to set up via computer with Reolink client and Onvif device manager.
You may follow the steps below to add Reolink cameras to Onvif Device Manager.
Step 1. Launch Reolink Client and add your devices, then go to Device Settings -> Recording -> Encode, select Base Line for H.264 Profile.


Note: the new version Client V8.1.20 or the V8 beta version doesn't have the H.264 profile setting, thus there is no need to choose Baseline, you may directly follow the following steps to add to Onvif Device Manager.
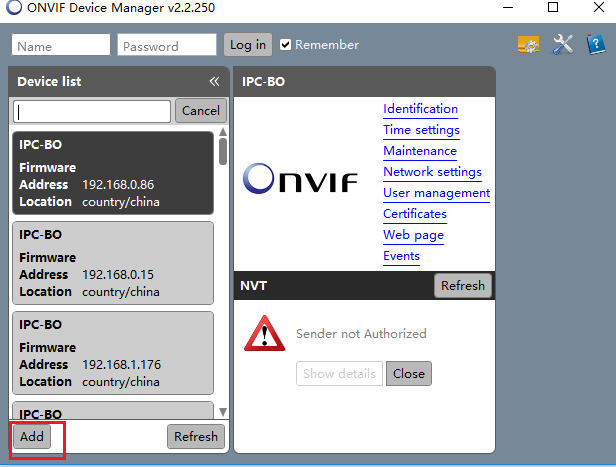
Step 2. Launch Onvif Device Manager, the device list will automatically show the devices that are compatible with Onvif.
If you haven't found your devices, please click "Add" at the left end corner and input your IP address to add your cameras.
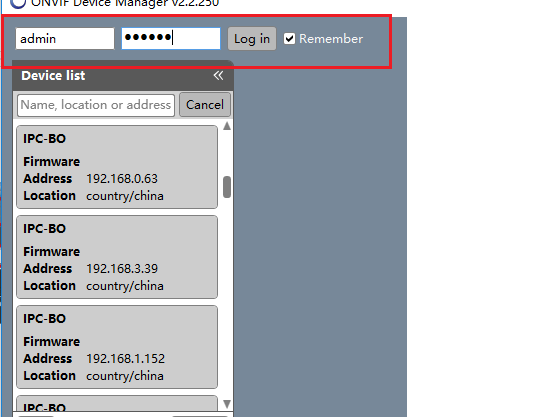
Step 3. Input the name and password of your device to log in.
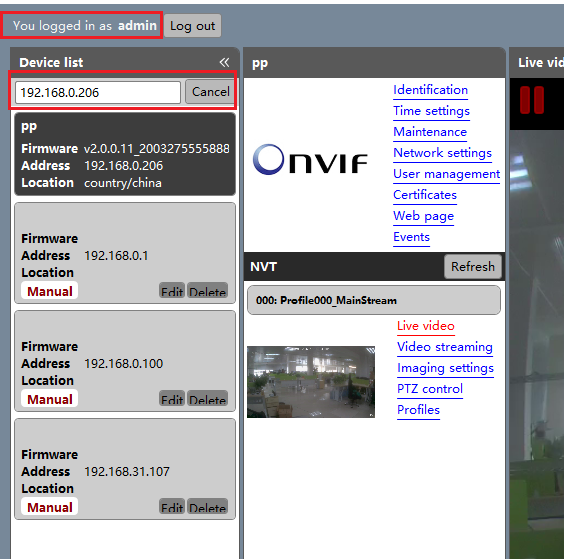
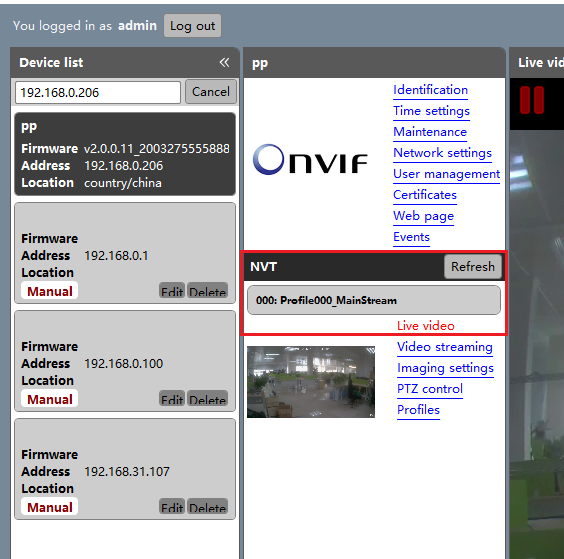
Step 4. Input the IP address of your device to find it more quickly. Later, the video will be shown in NVT -> Live Video