
Applies to: All Reolink cameras except battery-powered cameras.
The following steps describe how to set up a local record schedule via Window Reolink Client.
Notes:
- The local record schedule only applies to the cameras you have logged in.
- If you need to set up motion detection recording, please set the motion detection area and motion detection sensitivity first.
- The local recording will work only when Reolink Client is running. If the PC enters sleep mode, it may stop working.
Step 1. Go to the local record settings page to set the options, then click on Setup next to Record Schedule to enter the record schedule settings page.
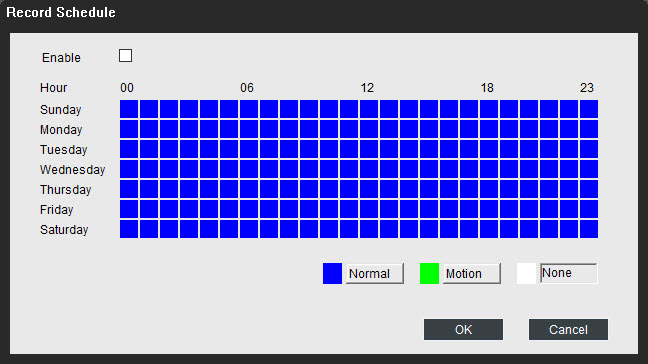
Step 2. Check the Enable box to enable local recording, then choose the record type (Normal, Motion, and None) and tap on the grids to set the recording schedule. Click the OK button to save the settings. And then the camera will start to record according to the different record types you choose before.
Note: The recorded videos can be found under the Record Path you have set.