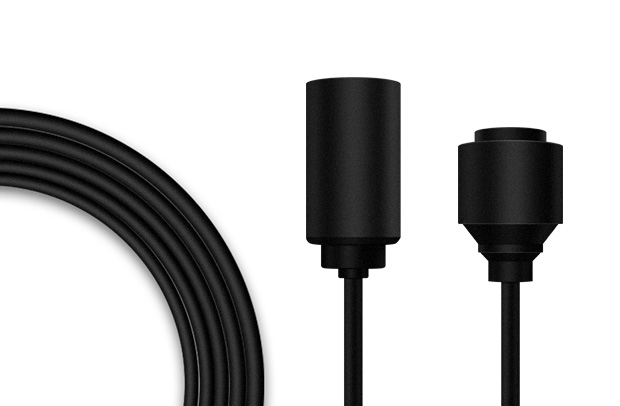
If you choose to connect your camera to Reolink Solar Panel with a 4m connection cable (included), you will be able to get non-stop power for your camera all day and all night. Also, you don't need to take time to charge your cameras yourselves anymore. It will save you a lot of time.
To get non-stop power from Reolink Solar Panel, you need to mount the Solar Panel at a perfect angle and position to maximize sunlight exposure with no blocking and other obstacles. The 360° wall mount of the Reolink Solar Panel allows you to easily place your Solar Panel in the perfect position.
Working Environment
1. The working temperature of Reolink Solar Panel is "-10℃~+55℃(14°F~131°F)". A temperature lower than -10℃ will significantly slow down the chemical reaction of the camera's batteries and Reolink Solar Panel. At the same time, cameras will indicate a low battery level.
For the safety of your camera and the Solar Panel, please charge the batteries at temperatures between 0°C and 45°C (32-113°F) and do not use the camera if the temperature drops below -10°C(14°F).
2. The working humidity of the Reolink Solar Panel is 10%~90%. Reolink Solar Panel is IP65 waterproof.
3. Reolink Solar Panel needs to be working with no obstacles such as shades of trees, buildings, etc or its working efficiency would drop drastically.
4. Reolink Solar Panel needs to obtain efficient sunlight to generate electricity, so the working weather needs to avoid long periods of gloom, cloudy, and rainy.
If you find that your Reolink solar panel has stopped charging your Reolink battery-powered cameras, please refer to this article to troubleshoot the issue.
Cameras Working with It
For now, Reolink battery-powered rechargeable cameras can be charged by Reolink Solar Panel. Except for the Keen, all other Reolink battery-powered cameras can be charged with solar panel.
How to Use it Effectively
To optimize the efficiency of Reolink Solar Panel, there are several notes you need to pay attention to:
#1 When mounting your Reolink Solar panel, please select a position with the most sunlight throughout the year for it to make sure your Solar Panel could get the best efficiency when harvesting energy. The ideal Angle of mounting your Solar Panel equals to the local latitude ± 5°.
#2 Make sure that there is no blocking on the solar panel. The energy harvesting efficiency drops drastically even when a small portion of the solar panel is blocked. Please avoid mounting locations like the shadow of trees, buildings, or other obstacles to ensure sufficient sunlight.
#3 Please don't install the Solar Panel completely horizontal or your Solar Panel might accumulate dust and other debris easily and will affect the energy harvesting efficiency.
#4 Please wipe the Solar Panel with wet tissue or clothes regularly to remove dust and debris.
Extension Cables of Solar Panel
The cable length of Reolink Solar Panel is 4 meters. If it is not long enough in your case, you may consider purchasing our Solar Panel extension cable (4.5 meters/15 feet). You can use up to 2 extension cables for Reolink Solar Panel so that the total distance of the extension cable can reach up to 13 meters (43 feet).
Power extension cable from other brands are not recommended with the Reolink Solar Panel,
as the voltage drop is not controllable and if there is a short circuit in the cable, there could be irreversible damage caused.
Refer to:

